wifi & status page
To get several ftSwarm controllers to act as a swarm, they must communicate with each other. This usually takes place via wifi, the ftSwarmRS is able to communicate via RS485, too. Additionally the status page of the controller can be accessed via wifi. Here the the input signals are shown; motors, servos and LEDs can be controlled manually.
Wifi configuration needs a USB connection. Start a terminal program as described before and boot the controller via the reset button.
The controller now shows its boot message. Enter setup, to start the configuration menu of the ftSwarm firmware:
***** Main Menu *****

(w)  Wifi & Local Settings
(s)  Swarm Configuration
(i)  IO Configuration
(r)  Remote/Event Configuration
(f)  Factory Reset

(x)  Exit

setup>
Choose (w) Wifi & Local Settings.
***** Wifi & Local Settings *****

hostname:            ftSwarm1010
ip-address:          172.16.16.111

(w)  wifi mode: Client-Mode
(s)  SSID: Elektrofuzzis24
(p)  Password: *****
(u)  Web UI: on
(g)  Gyro: off

(x)  Exit

wifi>
set “(w) wifi mode” to Client-Mode. Enter your wifi credentials using “(s) SSID” and “(p) Password”.
Use “(x) Exit” to save your changes. The controller will restart and connect to your local wifi.
You could now access the statuspage by http:\\ftSwarm<SerialNumber>. Replace
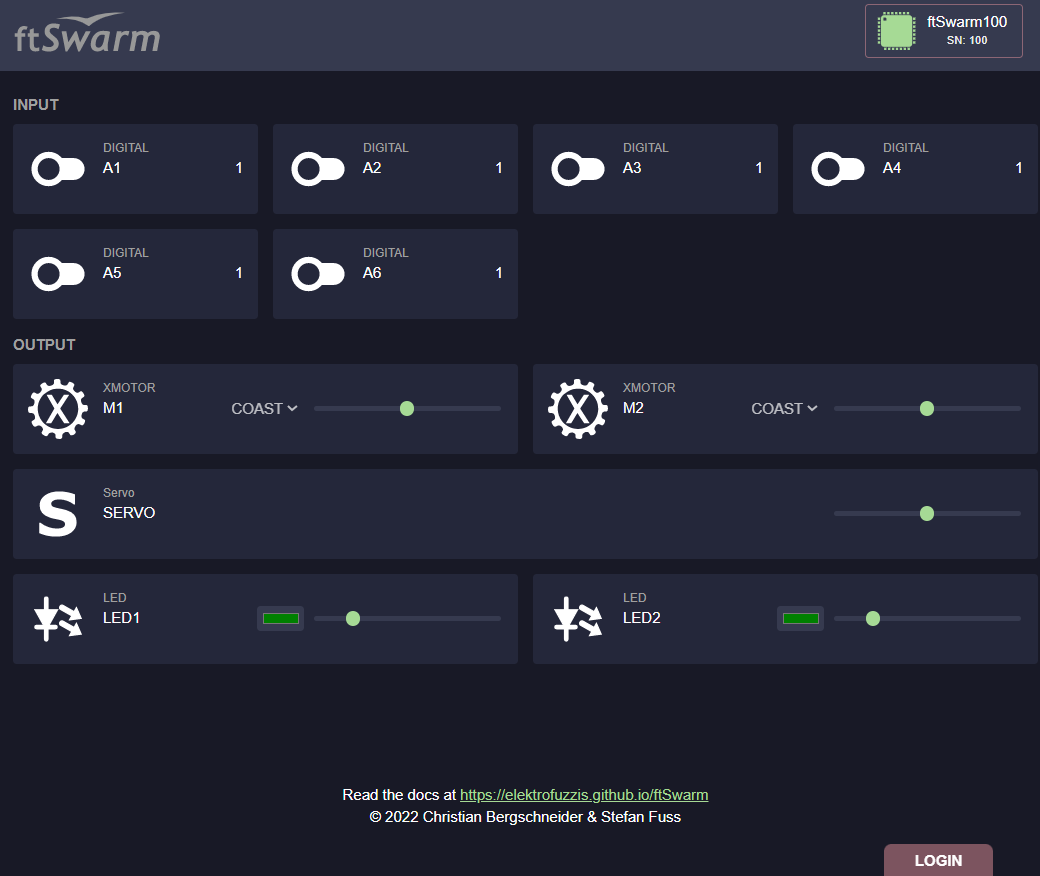
To operate the actuators such as motors, you need to log in to the controller using the LOGIN button. Thereby the swarm pin is requested, by default this is the 4-digit serial number of the controller (in the example 1010).